Add-In Tools
An add-in tool is based on a scan request file that you define and register with Software Risk Manager. A scan request file contains the instructions that the tool service needs to invoke an application security testing tool on a Kubernetes cluster and ingest its output into Software Risk Manager.
The Add-In Tools section appears when the Tool Orchestration Service is enabled. (See Tool Orchestration in the Software Risk Manager Install Guide for instructions on how to enable this feature.)

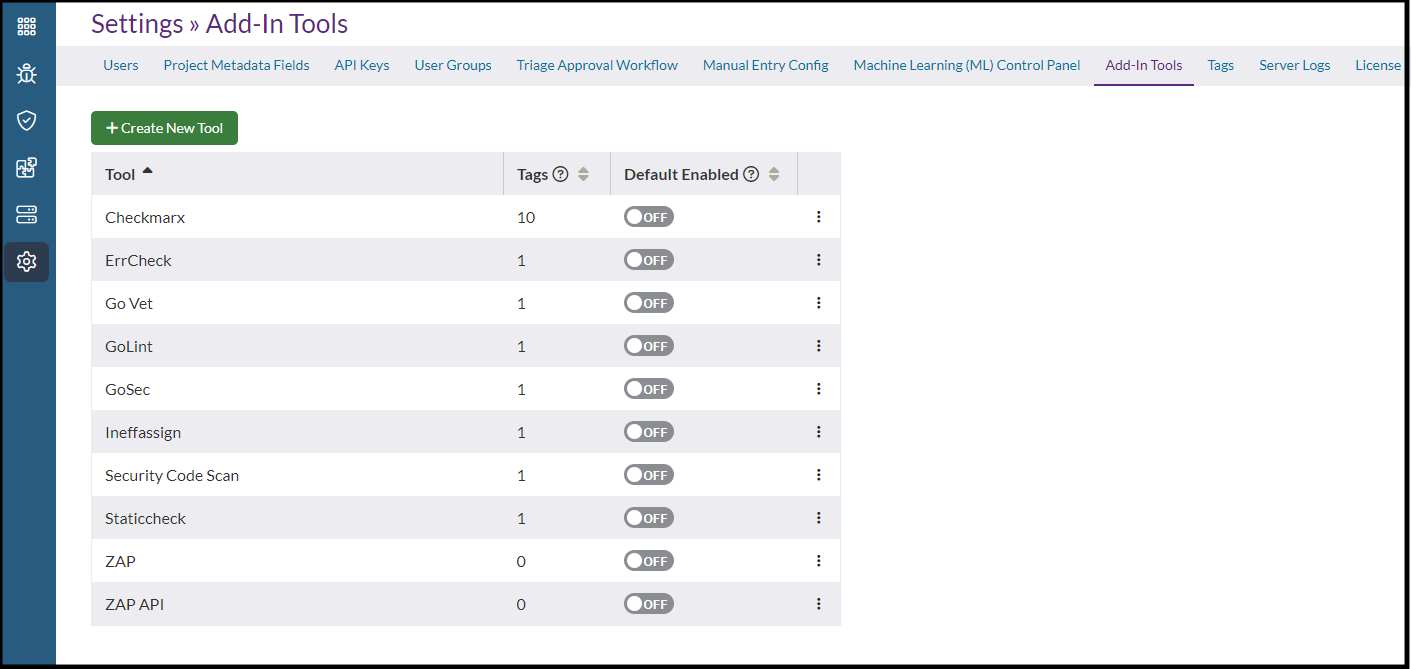
The Add-In Tools page allows you to manage the list of application security testing tools that can run on your cluster.
Add-In tools must be enabled on a per-project basis, and a registered tool starts in a disabled state. See the Customize Add-In Tools section to learn how to enable a tool for a specific project. You can also use the Default enabled toggle to enable a tool for every project, excluding those where it was explicitly disabled. Avoid enabling tools by default when they include project-based settings.
Some add-in tools, such as DAST tools, do not require an analysis input. Software Risk Manager will offer to run them with each new analysis. Others require an input file, and Software Risk Manager will scan a file to build a list of tags describing its contents. Tool registration data lets Software Risk Manager select appropriate add-in tools to run.
The Matched Tags section lets you associate content tags with an add-in tool. Select the
Tag type and specify the associated criteria for the content tag. For
Language, Runtime, and Meta, select from the options in the
dropdown menu. For Extensions, specify any number of extensions to associate with
the add-in tool as either a comma or space-delimited list (e.g., zip, msi,
pkg or just zip). Click Add Tag to link a tool with a
content type.
- OpenSSL. An
opensslv.hfile - NuGet Manifest. Any
.nuspecfile - npm Package. A
package.jsonfile - .NET Core, Framework, Standard. Any
.csprojor.vbprojfile (contents are inspected to determine framework type)
Viewing Existing Add-In Tools

This list shows all the existing add-in tools along with information about how many tags have been assigned and whether the tool has been enabled.
Creating a New Add-In Tool
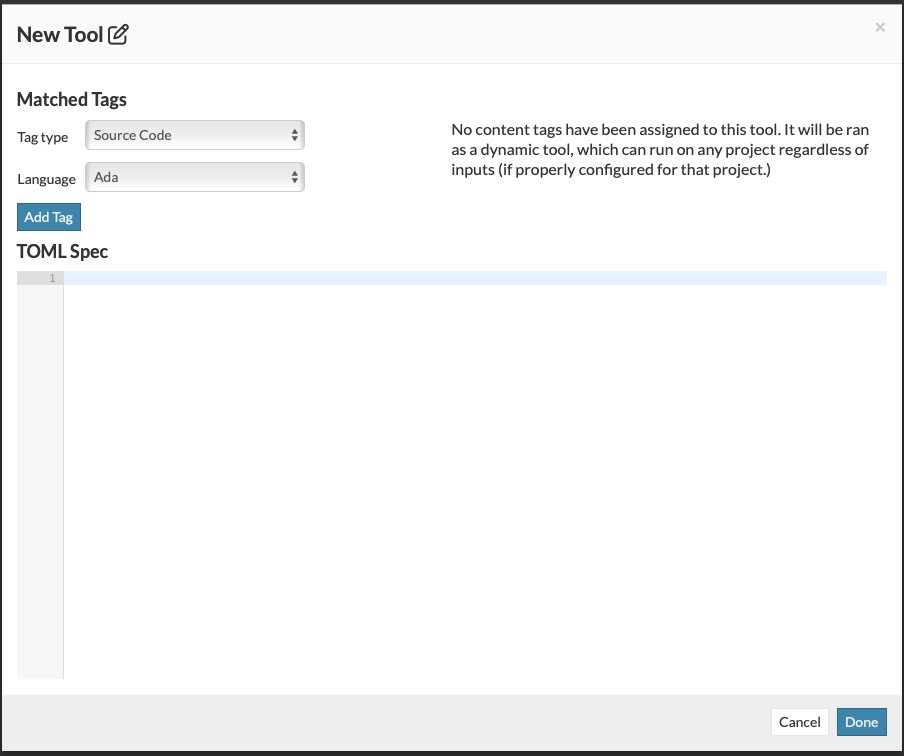
The Create New Tool feature allows you to add a tool registration.
- Click the Settings icon in the navigation bar and select Add-In Tools from
the left menu.

- Click Create New Tool.

- Select a tag type and language from the dropdown list.
- Add a tag.
- Enter a TOML Spec in the blank field.
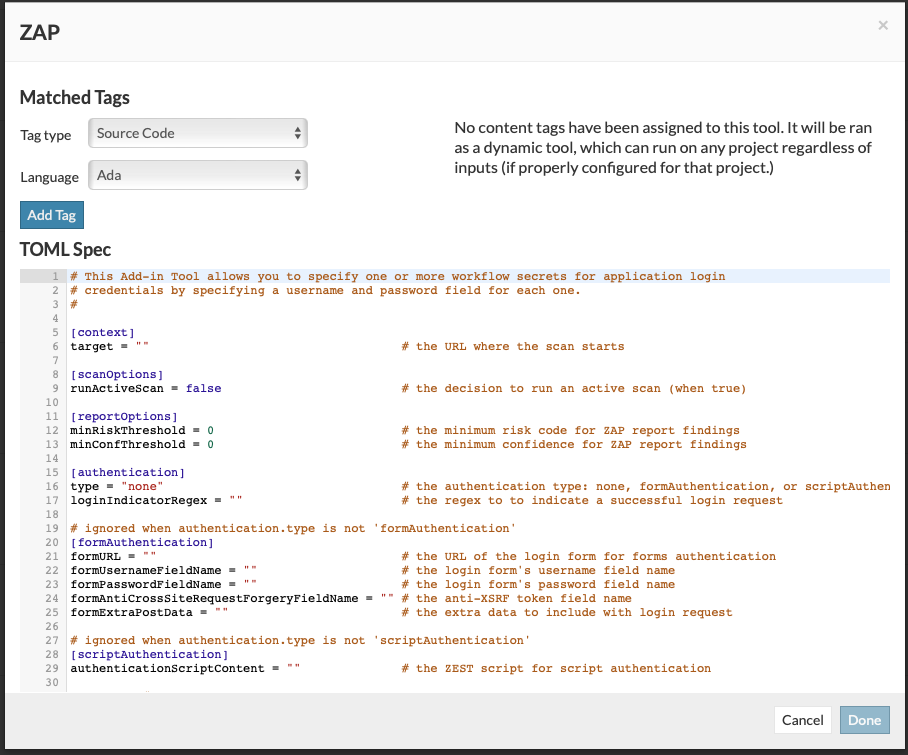
The TOML Spec includes the scan request file content that defines an add-in tool. (See the Scan Request File section to learn more about scan request files.)
- Click Done.
Configuring an Add-In Tool
- Click the Settings icon in the navigation bar and select Add-In Tools from
the left menu.

- Click the tool's dropdown configuration icon.

- Make changes as needed.
- Click Done.
Renaming an Add-In Tool
You can change the tool's name by editing the window title and clicking OK, but you must click Done to save a tool name change. Tool names must be unique, and bundled add-in tools cannot be renamed.
