
User Configuration Settings (My Settings)
User Configuration settings, or "My Settings," allows you to set notifications, manage passwords, and configure personal access tokens, which can be used to access the Software Risk Manager REST API.
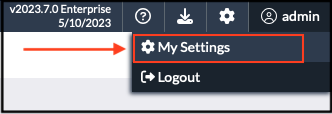
Click your username in the upper right corner of the page and select My Settings to open the My Settings page.
Configuring Email Notifications
Email notifications allow you to receive emails when a policy status changes or when there's an analysis failure. (For more information on polices and policy status, see the Policies Overview section.)
- Click your username in the upper right corner of the page and select My
Settings from the dropdown menu.
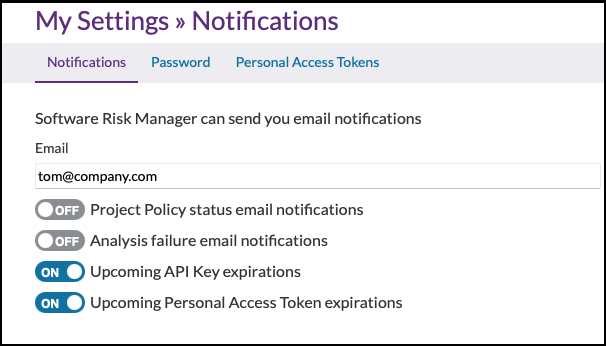
- Select Notifications from the top menu to open the Notifications page.
- Enter your email address in the Email field.
- Use the toggles to enable email notifications. There are four notification options:
- Project Policy status email notifications. Sends an email when there's a policy status change for a project.
- Analysis failure email notifications. Sends an email when there is an analysis failure for a project.
- Upcoming API Key expirations. Sends an email when an API Key is due to expire.
- Upcoming Personal Access Token expirations. Sends an email when a Personal Access Token is due to expire.
Changes are saved automatically.
Changing Your Password
Users can change their own password from the My Settings page. (Admins can also change user passwords. See Changing a User Password.)
- Click your username in the upper right corner of the page and select My
Settings from the dropdown menu.
- Select Password from the top menu.
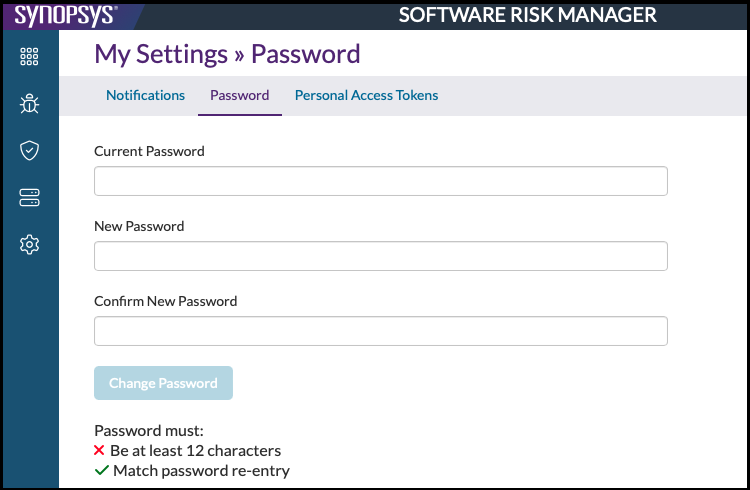
- Enter your current password.
- Enter and confirm your new password.
Passwords must be at least 12 characters.
- Click Change Password.
Managing Personal Access Tokens
The Personal Access Tokens page displays a list of users and usage data and allows you to generate a new token or delete an existing one.
Viewing Existing Tokens
- Click your username in the upper right corner of the page and select My
Settings from the dropdown menu.
- Select Personal Access Tokens from the top menu.
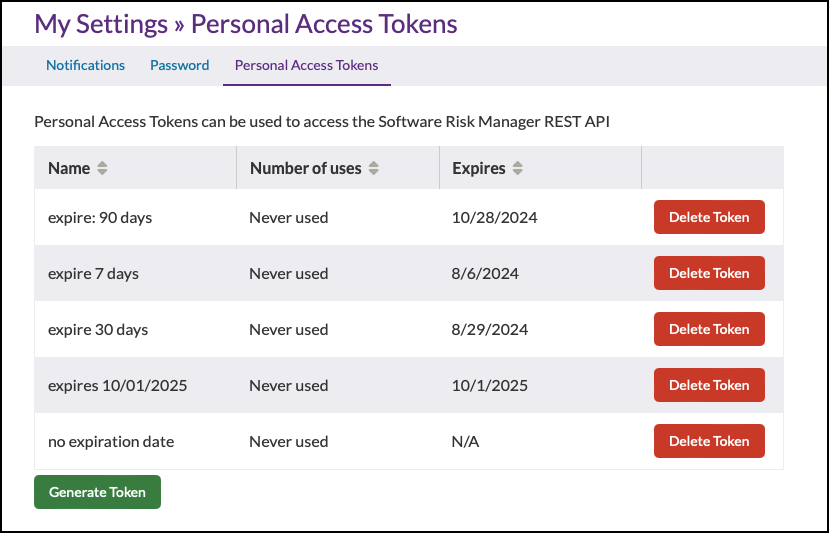
This page displays the existing tokens and usage data. Click the column headers to sort the list.
Generating Personal Access Tokens
- Click your username in the upper right corner of the page and select My
Settings from the dropdown menu.
- Select Personal Access Tokens from the top menu.
This page displays the existing tokens and usage data.
- Click Generate Token to create a new personal access
token.
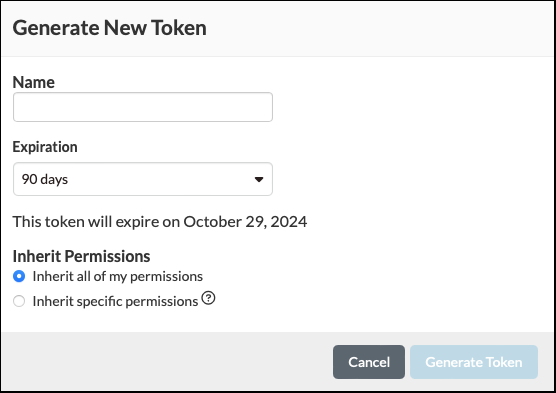
- Enter a name for the token.
- Select an expiration. (The default is 90 days.)
- Select permission options:
- Inherit all of my permissions. The token will include all of your configured roles.
- Inherit specific permissions (Read, Create, Update, Manage). The token will inherit the selected roles only. For example, selecting "Read" will allow the token to read any project where you have the "Read" permission set.
Note: This setting will not override or grant permissions that a user doesn't already have. - Click Generate Token.
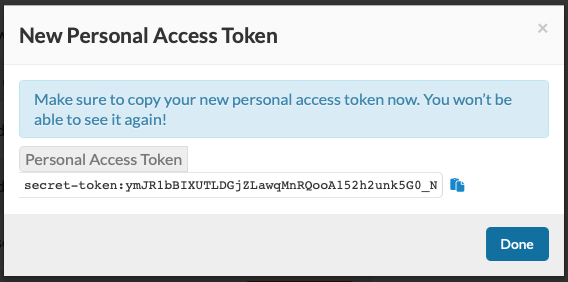
- Copy and save your new token.
Once this window is closed, the token cannot be redisplayed.
- Click Done to close the window.
Deleting a Token
- Click your username in the upper right corner of the page and select My
Settings from the dropdown menu.
- Select Personal Access Tokens from the top menu.
- Locate the token you want to delete and click Delete Token.
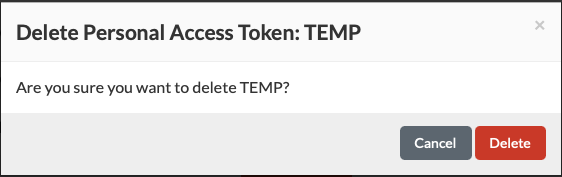
- Click Delete to confirm.